

What you will build
A reusable widget that embeds the assistant directly in your application. The widget provides:- A floating button that opens a chat panel when clicked
- Real-time streaming responses based on information from your documentation
- Message rendering with Markdown support
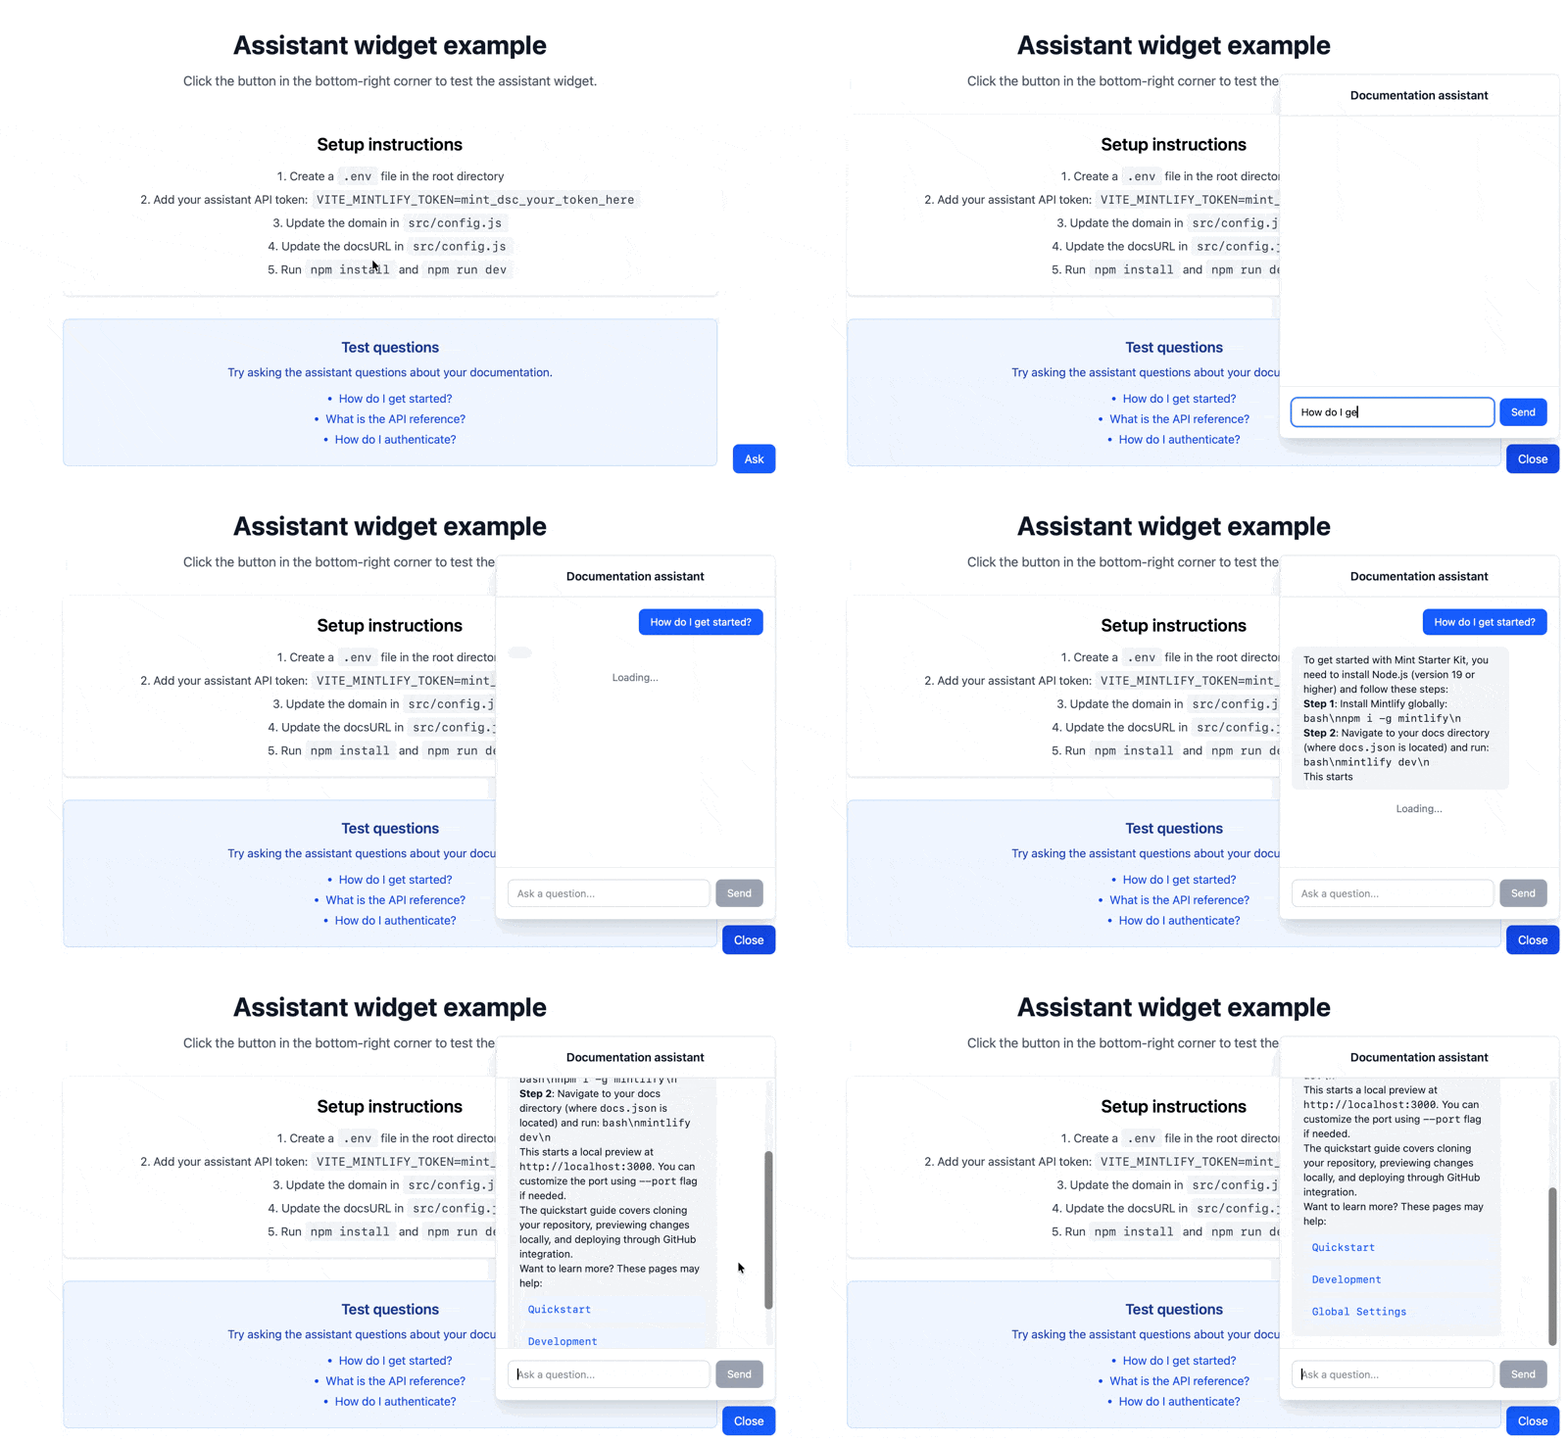
Prerequisites
- Mintlify Pro or Custom plan
- Your domain name, which appears at the end of your dashboard URL. For example, if your dashboard URL is
https://dashboard.mintlify.com/org-name/domain-name, your domain name isdomain-name - An assistant API key
- Node.js v18 or higher and npm installed
- Basic React knowledge
Get your assistant API key
- Navigate to the API keys page in your dashboard.
- Click Create Assistant API Key.
- Copy the assistant API key (starts with
mint_dsc_) and save it securely.
The assistant API key is a public token that can be used in frontend code. Calls using this token count toward your plan’s message allowance and can incur overages.
Set up the example
The quickest way to get started is to clone the example repository and customize it for your needs.1
Clone the repository
2
Configure your project
Open Replace:
src/config.js and update with your Mintlify project details:src/config.js
your-domainwith your Mintlify project domain found at the end of your dashboard URL.https://yourdocs.mintlify.appwith your actual documentation URL.
3
Add your API token
Create a Replace
.env file in the project root:.env
mint_dsc_your_token_here with your assistant API key.4
Start the development server
Project structure
The example uses a component-based architecture.src/App.jsx: Main app component. Shows how to import and use theAssistantWidgetcomponent.src/config.js: Centralized configuration. Update this file with your domain and docs URL.src/components/AssistantWidget.jsx: The main widget component. Manages the open/close state, chat messages, and API calls.src/utils.js: Contains utility functions for parsing the assistant’s response format and extracting sources.src/components/Message.jsx: Renders individual messages with support for Markdown and suggestion links.