> ## Documentation Index
> Fetch the complete documentation index at: https://wiki.another-horizon.eu/llms.txt
> Use this file to discover all available pages before exploring further.
# 自定义域名
> 在自定义域名上托管你的文档。
要在自定义域名上托管你的文档:
1. 在控制台中添加你的 domain。
2. 在你的域名服务商处配置 DNS 设置。
3. 等待 DNS 生效并自动签发 TLS 证书。
想要配置类似 `example.com/docs` 这样的子路径?请参见 [/docs 子路径](/zh/deploy/docs-subpath)。
## 添加自定义域名
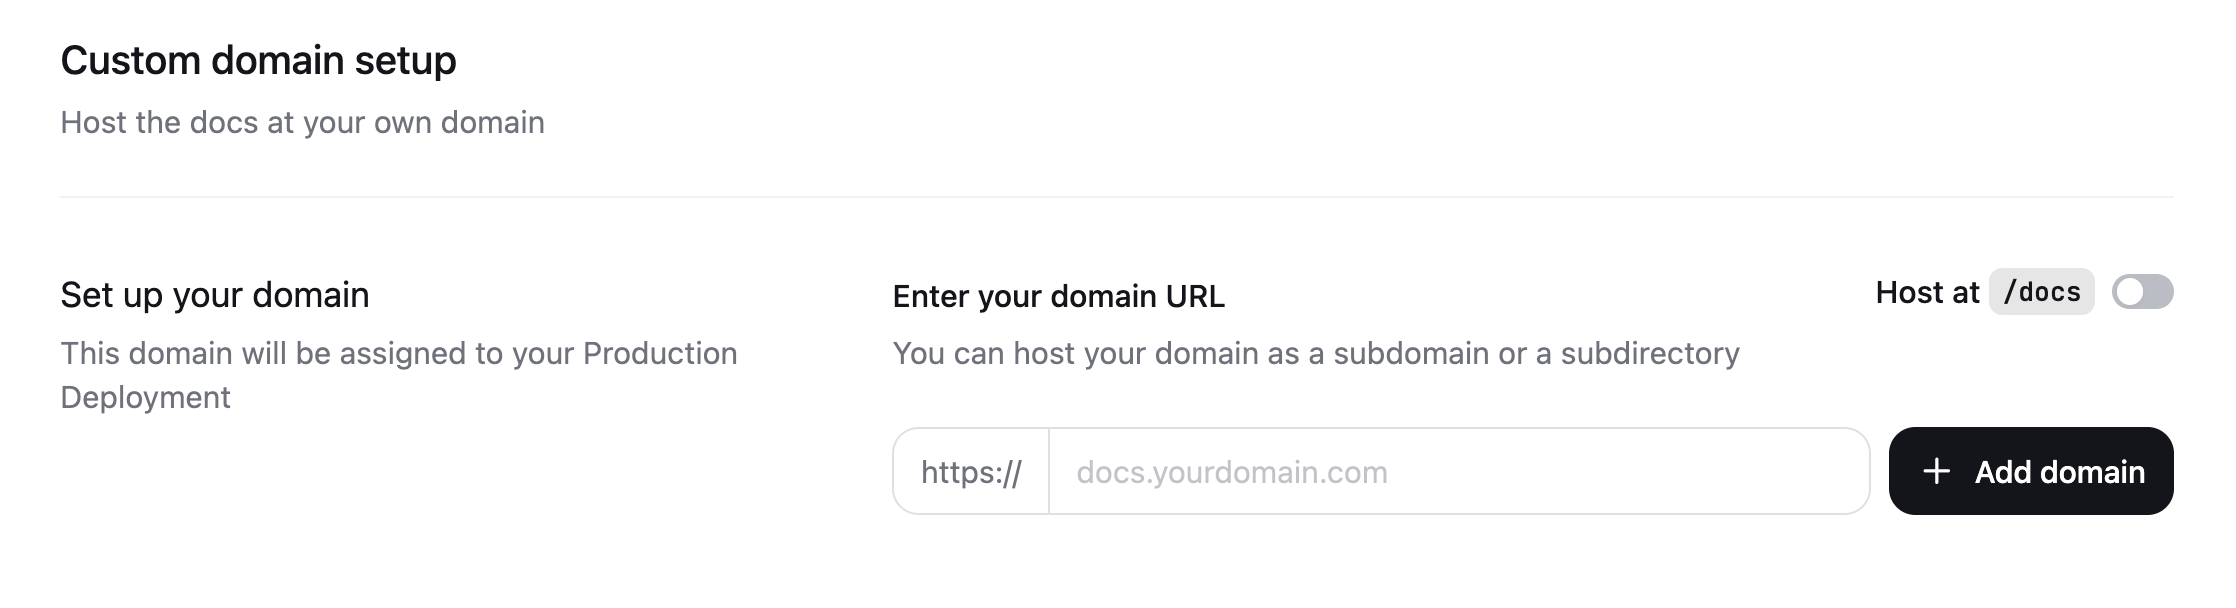
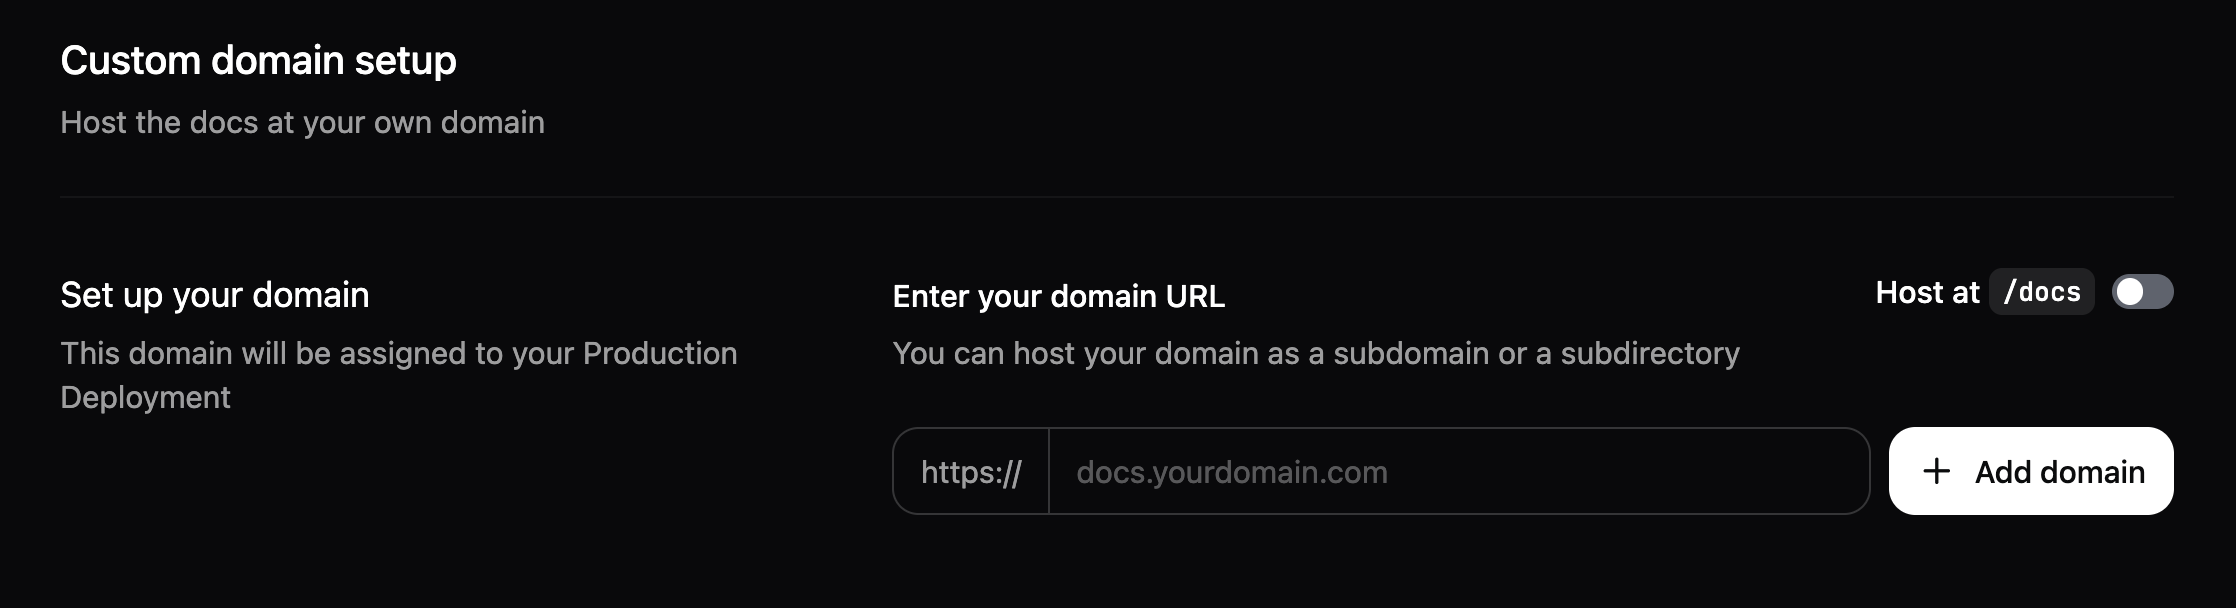
1. 在控制台前往 [Custom domain setup](https://dashboard.mintlify.com/settings/deployment/custom-domain) 页面。
2. 输入你的域名,例如 `docs.example.com` 或 `www.example.com`。
3. 点击 **Add domain**。
## 配置你的 DNS(域名系统)
1. 在你的域名提供商网站,前往该域名的 DNS 设置。
2. 新建一条 DNS 记录,并按以下值进行设置:
```text theme={null}
CNAME | docs | cname.mintlify-dns.com.
```
不同域名提供商添加 DNS(域名系统)记录的方式各不相同。请查阅你的域名提供商文档获取具体操作指南。
### DNS 传播
DNS 变更通常需要 1–24 小时在全球范围内生效,某些情况下可能长达 48 小时。你可以使用 [DNSChecker](https://dnschecker.org) 验证 DNS 是否配置正确。
DNS 记录生效后,你的文档最初将通过 HTTP 提供访问。Vercel 配置好你的 TLS 证书后,HTTPS 将可用。
### 自动配置 TLS
当你的 DNS(域名系统)记录完成传播并能正确解析后,Vercel 会使用 Let's Encrypt 为你的 domain 自动签发免费的 SSL/TLS 证书。
通常在 DNS 传播后的数小时内即可完成,极少数情况下可能需要长达 24 小时。证书会在到期前自动续期。
### CAA 记录
如果你的 domain 使用 CAA(Certification Authority Authorization)记录,你需要授权 Let's Encrypt 为该 domain 签发证书。将以下 CAA 记录添加到你的 DNS(域名系统)设置中:
```text theme={null}
0 问题 "letsencrypt.org"
```
### 保留路径
用于证书验证的 `/.well-known/acme-challenge` 路径为保留路径,不能重定向或重写。若对该路径配置了重定向或重写,证书签发将失败。
### 特定服务商设置
如果 Vercel 是你的域名服务商,你需要添加一个用于验证的 `TXT` 记录。提交自定义域名后,这些信息会显示在你的控制台中,并通过电子邮件发送给你。
如果 Cloudflare 是你的 DNS(域名系统)服务商,你需要在 SSL/TLS 加密设置中启用“Full (strict)”模式。此外,请在 Edge Certificates 设置中禁用“Always Use HTTPS”。Cloudflare 的 HTTPS 重定向会在证书配置期间阻止 Let's Encrypt 验证你的域名。
## 设置规范 URL
在配置好 DNS 后,设置一个规范 URL,以确保搜索引擎索引你首选的域名。规范 URL 会告诉搜索引擎哪一个版本的文档是主版本。当文档可通过多个 URL 访问时,这有助于提升 SEO(搜索引擎优化),并避免重复内容问题。
在 `docs.json` 中添加 `canonical` 元标签:
```json theme={null}
"seo": {
"metatags": {
"canonical": "https://www.your-custom-domain-here.com"
}
}
```
将 `https://www.your-custom-domain-here.com` 替换为你的实际自定义 domain。举例来说,如果你的自定义 domain 是 `docs.mintlify.com`,你应使用:
```json theme={null}
"seo": {
"metatags": {
"canonical": "https://docs.mintlify.com"
}
}
```