> ## Documentation Index
> Fetch the complete documentation index at: https://wiki.another-horizon.eu/llms.txt
> Use this file to discover all available pages before exploring further.
# GitHub
> Connect to a GitHub repository for automated deployments, pull request previews, and continuous synchronization.
Mintlify uses a GitHub App to automatically sync your documentation with your GitHub repository.
**Do you need the GitHub App?**
* **Mintlify-hosted repository** in the `mintlify-community` organization: No. The GitHub App is already configured.
* **Your own repository**: Yes. Install the GitHub App to enable automatic deployments when you push changes.
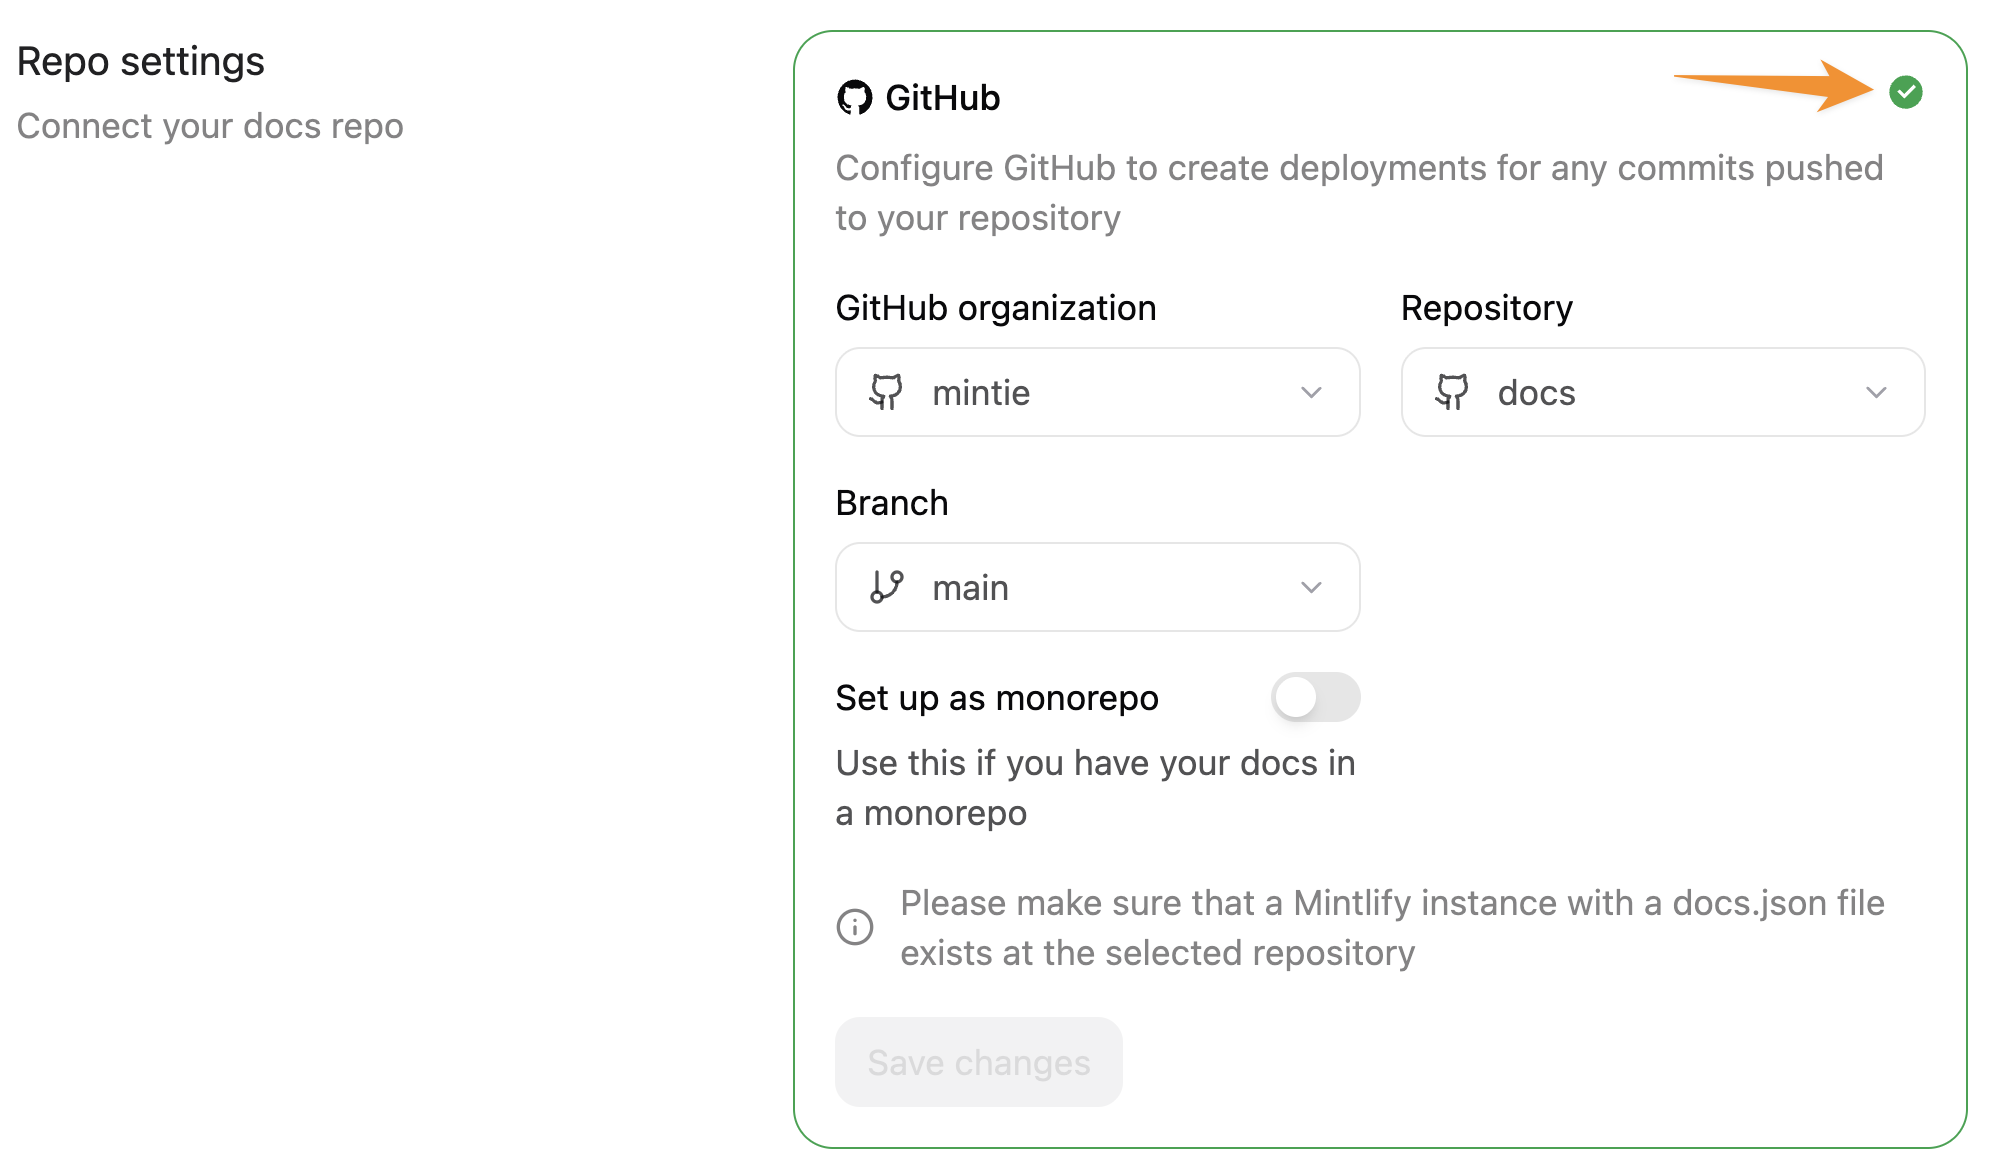
See your repository in the [Git Settings](https://dashboard.mintlify.com/settings/deployment/git-settings) page of your dashboard.
If your repository is in a private repository owned by the Mintlify organization, the GitHub App is automatically configured and managed by Mintlify. You can use the web editor to make changes to your documentation. If you want to work on your documentation locally, clone the repository to your own organization and update your Git settings to use your own repository.
## Clone to your own repository
If you skipped connecting your own Git repository during onboarding, your documentation lives in a private repository owned by the Mintlify organization. To move it to your own account or organization:
1. Go to [Git Settings](https://dashboard.mintlify.com/settings/deployment/git-settings) in your dashboard.
2. Click **Clone as Private** or **Clone as Public**. Public repos allow anyone to view your documentation source and submit issues or suggestions. Private repos restrict access to your team.
3. Install the GitHub App by following the steps in [Install the GitHub App](#install-the-github-app) below.
## Install the GitHub App
You must have organization ownership or administrator permissions in a repository to install the app. If you lack the necessary permissions, the repository owner must approve the installation request.
Install the Mintlify GitHub App through your [dashboard](https://dashboard.mintlify.com/settings/organization/github-app).
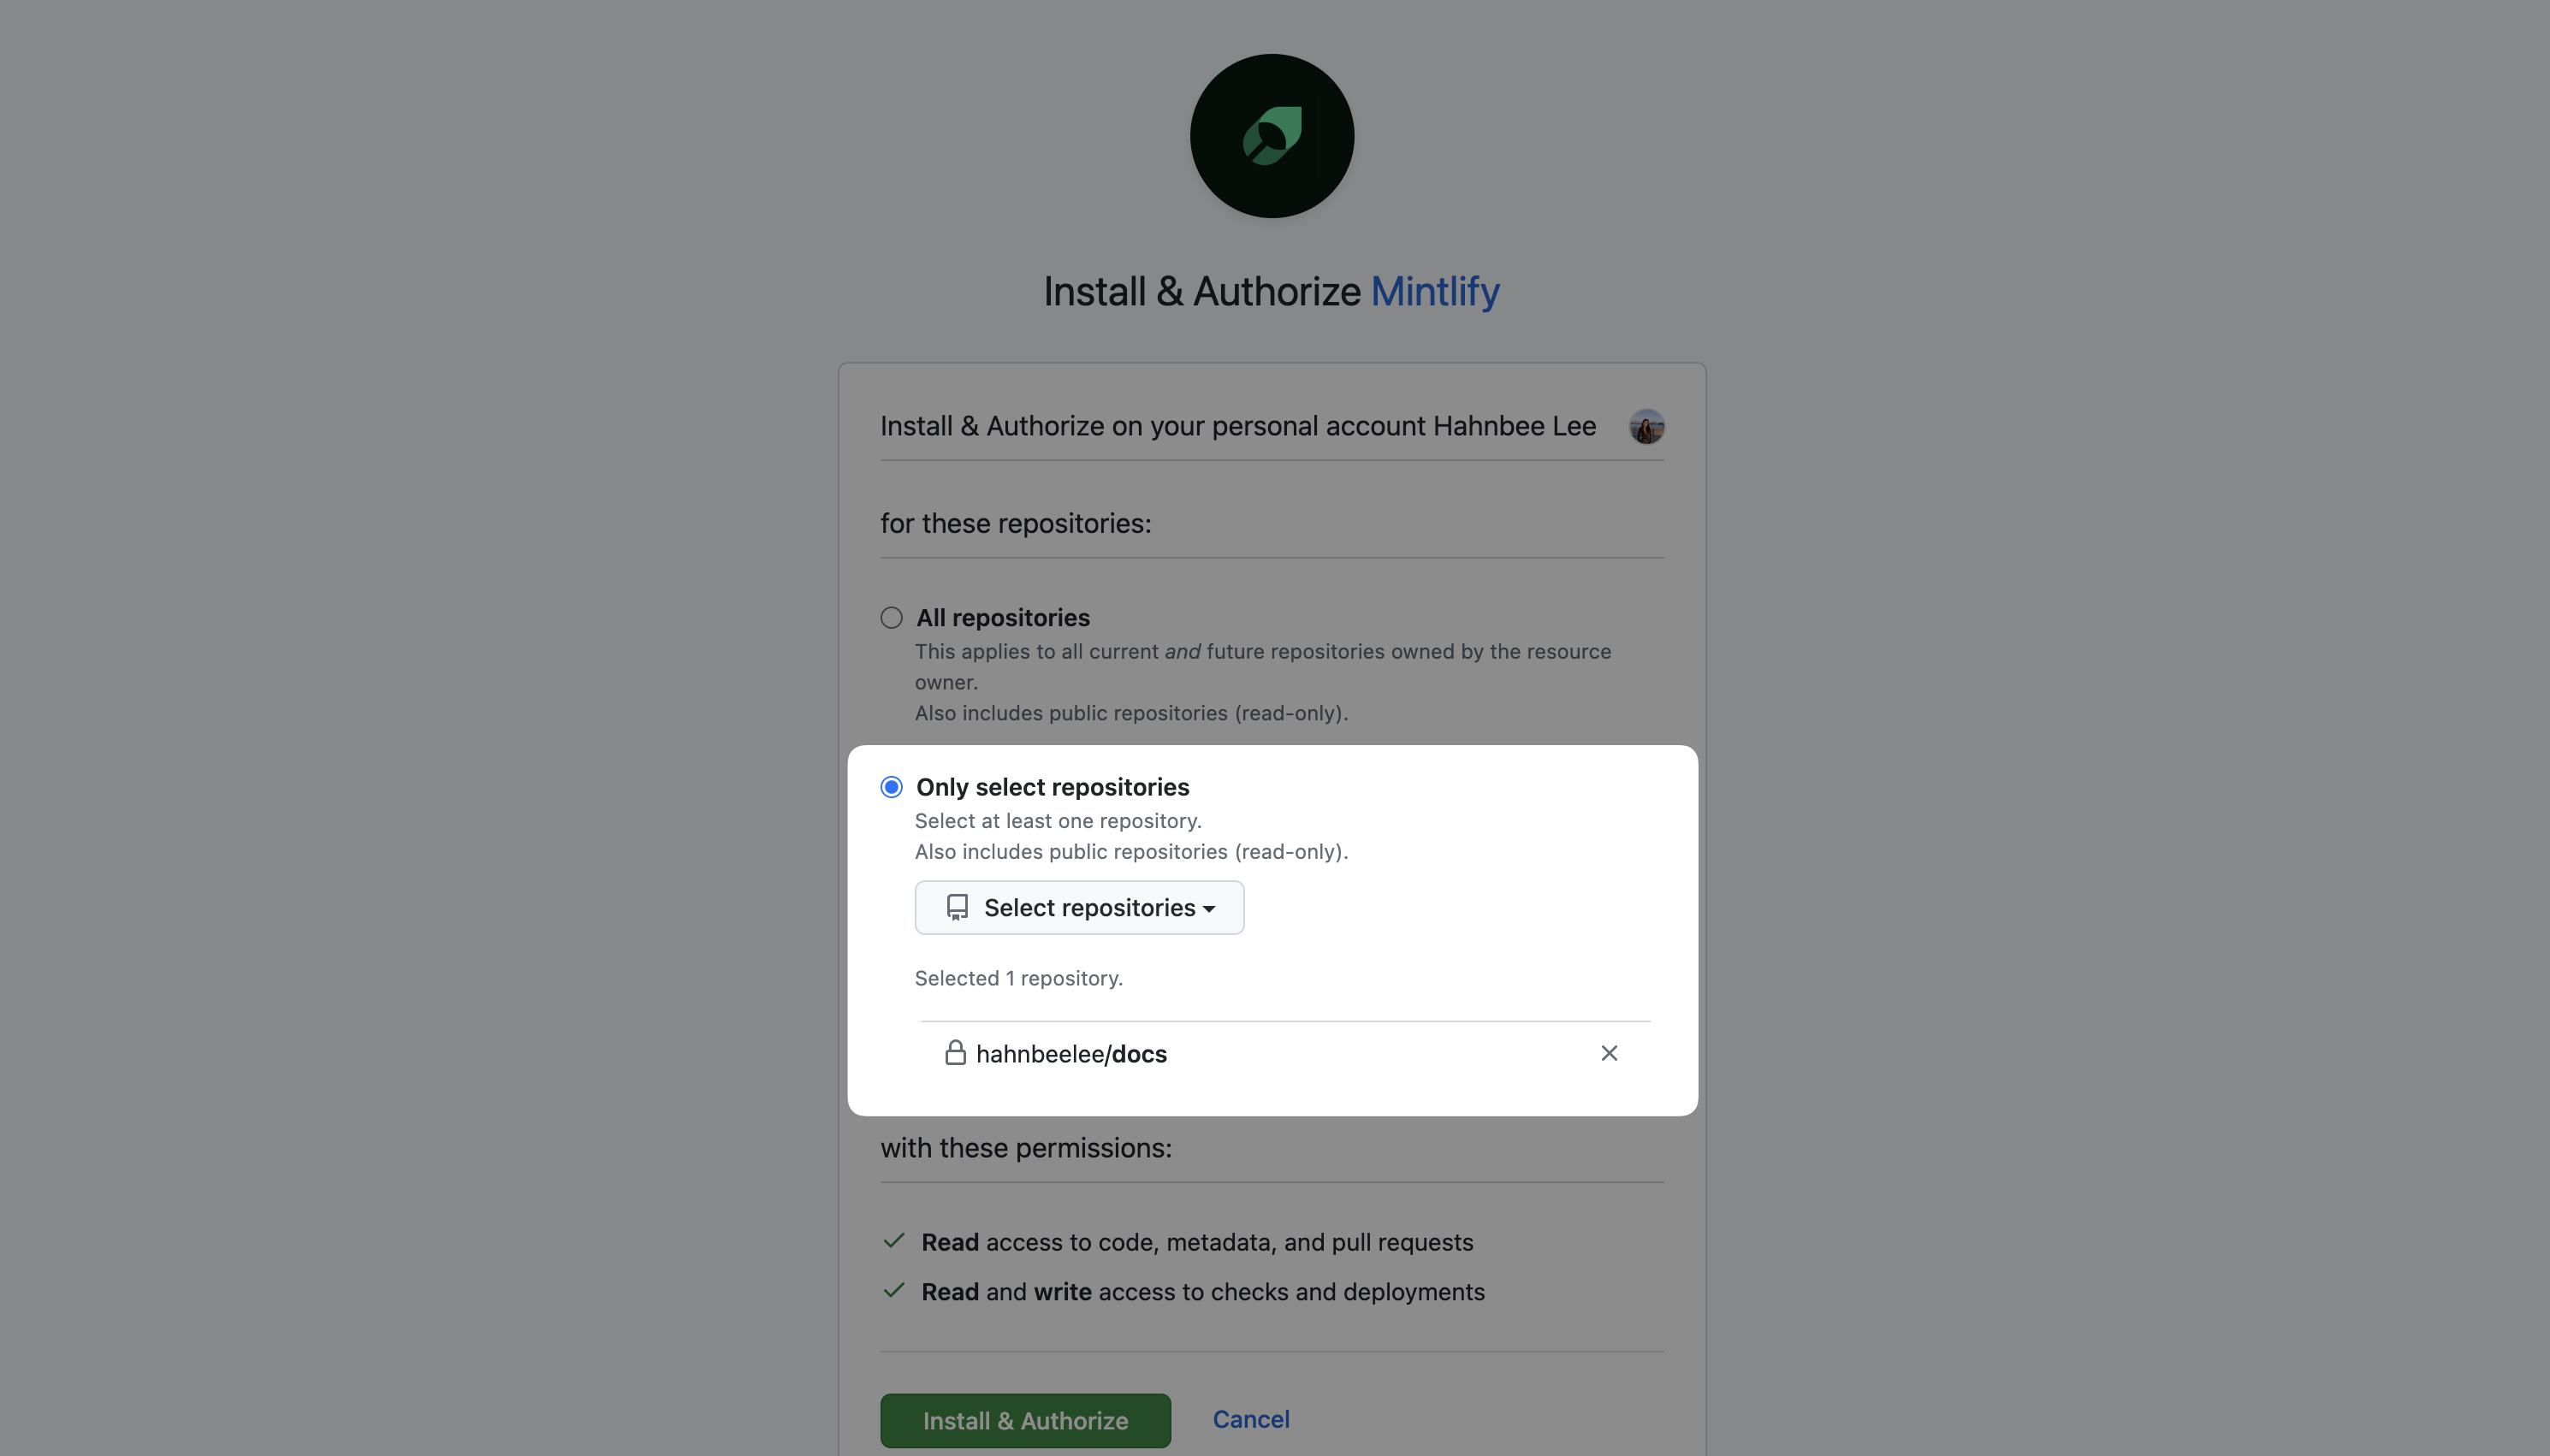
We recommend only granting access to your documentation repository.
 ## Permissions
When you install the GitHub App, grant the following permissions.
Read permissions:
* `metadata`: Basic repository information
Read and write permissions:
* `checks`: Create status checks on pull requests
* `code`: Read file changes when you commit to your docs branch
* `deployments`: Generate preview deployments for pull requests
* `pull requests`: Create branches and pull requests from the web editor
The app only accesses repositories that you explicitly grant it access to. If you have branch protection rules enabled, the app can't push directly to protected branches.
## Manage repository access
When installing the GitHub App, you can grant access to all of your repositories or specific ones. We recommend only granting access to your documentation repository and any repositories that you want to provide as context for the agent. You can modify this selection anytime in your [GitHub App settings](https://github.com/apps/mintlify/installations/new).
## Configure docs source
Change the organization, repository, or branch that your documentation builds from in the [Git Settings](https://dashboard.mintlify.com/settings/deployment/git-settings) section of your dashboard.
## GitHub Enterprise with IP allowlists
If your GitHub Enterprise Cloud organization has an IP allowlist enabled, you need to add Mintlify's egress IP address (`54.242.90.151`) to your allowlist for the GitHub App to function properly.
Follow [GitHub's documentation](https://docs.github.com/en/enterprise-cloud@latest/organizations/keeping-your-organization-secure/managing-security-settings-for-your-organization/managing-allowed-ip-addresses-for-your-organization) to configure your IP allowlist.
## Troubleshooting
### Deployment not triggering automatically
If pushes to your repository don't trigger deployments, check the following possible problems.
Check that the correct repository has the app installed.
1. Go to [GitHub App settings](https://dashboard.mintlify.com/settings/organization/github-app) in your dashboard.
2. Check that your repository is on the active app installations list.
Ensure that you're pushing to the correct branch.
1. Go to [Git Settings](https://dashboard.mintlify.com/settings/deployment/git-settings)
2. Verify the branch in your dashboard matches the branch that you're pushing to.
### GitHub App connection issues
If you encounter problems with the GitHub app, resetting the connection can solve most problems.
1. In GitHub, go to [installations](https://github.com/settings/installations) and select **Configure** next to the Mintlify app. Scroll down and select **Uninstall**.
2. Go to [Authorized GitHub Apps](https://github.com/settings/apps/authorizations) and select **Revoke** next to the Mintlify app.
1. In your Mintlify dashboard, go to [Git Settings](https://dashboard.mintlify.com/settings/deployment/git-settings) and install the GitHub app.
2. Authorize your account in the [My Profile](https://dashboard.mintlify.com/settings/account) section of your dashboard.
### Feedback add-ons are unavailable
If you cannot enable the edit suggestions or raise issues options in your dashboard and your repository is public, revalidate your Git settings.
Go to [Git Settings](https://dashboard.mintlify.com/settings/deployment/git-settings) in your dashboard.
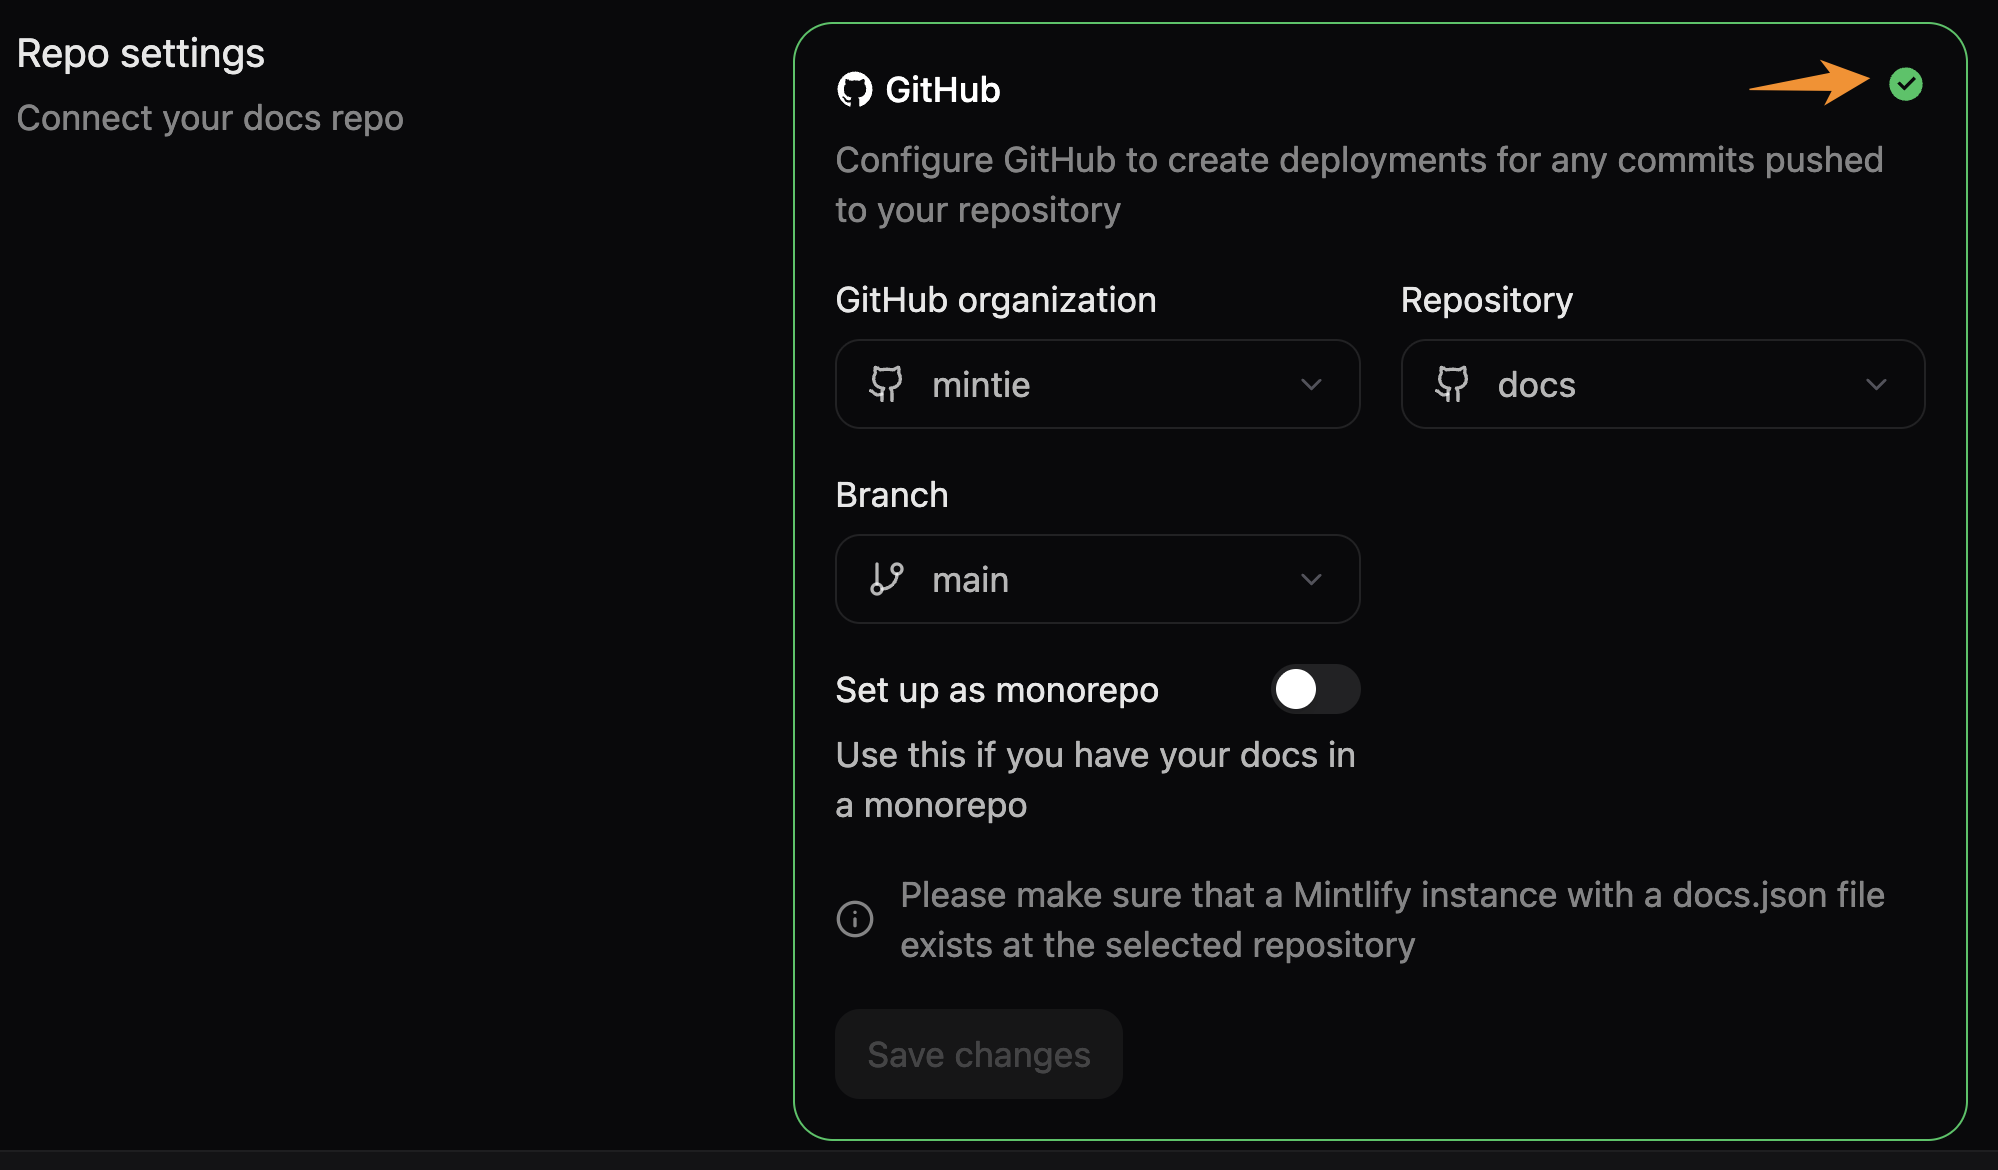
Click the green check mark in the corner of the Git settings box to revalidate your repository settings. This forces an update to your repository settings to reflect whether your repository is public or private.
## Permissions
When you install the GitHub App, grant the following permissions.
Read permissions:
* `metadata`: Basic repository information
Read and write permissions:
* `checks`: Create status checks on pull requests
* `code`: Read file changes when you commit to your docs branch
* `deployments`: Generate preview deployments for pull requests
* `pull requests`: Create branches and pull requests from the web editor
The app only accesses repositories that you explicitly grant it access to. If you have branch protection rules enabled, the app can't push directly to protected branches.
## Manage repository access
When installing the GitHub App, you can grant access to all of your repositories or specific ones. We recommend only granting access to your documentation repository and any repositories that you want to provide as context for the agent. You can modify this selection anytime in your [GitHub App settings](https://github.com/apps/mintlify/installations/new).
## Configure docs source
Change the organization, repository, or branch that your documentation builds from in the [Git Settings](https://dashboard.mintlify.com/settings/deployment/git-settings) section of your dashboard.
## GitHub Enterprise with IP allowlists
If your GitHub Enterprise Cloud organization has an IP allowlist enabled, you need to add Mintlify's egress IP address (`54.242.90.151`) to your allowlist for the GitHub App to function properly.
Follow [GitHub's documentation](https://docs.github.com/en/enterprise-cloud@latest/organizations/keeping-your-organization-secure/managing-security-settings-for-your-organization/managing-allowed-ip-addresses-for-your-organization) to configure your IP allowlist.
## Troubleshooting
### Deployment not triggering automatically
If pushes to your repository don't trigger deployments, check the following possible problems.
Check that the correct repository has the app installed.
1. Go to [GitHub App settings](https://dashboard.mintlify.com/settings/organization/github-app) in your dashboard.
2. Check that your repository is on the active app installations list.
Ensure that you're pushing to the correct branch.
1. Go to [Git Settings](https://dashboard.mintlify.com/settings/deployment/git-settings)
2. Verify the branch in your dashboard matches the branch that you're pushing to.
### GitHub App connection issues
If you encounter problems with the GitHub app, resetting the connection can solve most problems.
1. In GitHub, go to [installations](https://github.com/settings/installations) and select **Configure** next to the Mintlify app. Scroll down and select **Uninstall**.
2. Go to [Authorized GitHub Apps](https://github.com/settings/apps/authorizations) and select **Revoke** next to the Mintlify app.
1. In your Mintlify dashboard, go to [Git Settings](https://dashboard.mintlify.com/settings/deployment/git-settings) and install the GitHub app.
2. Authorize your account in the [My Profile](https://dashboard.mintlify.com/settings/account) section of your dashboard.
### Feedback add-ons are unavailable
If you cannot enable the edit suggestions or raise issues options in your dashboard and your repository is public, revalidate your Git settings.
Go to [Git Settings](https://dashboard.mintlify.com/settings/deployment/git-settings) in your dashboard.
Click the green check mark in the corner of the Git settings box to revalidate your repository settings. This forces an update to your repository settings to reflect whether your repository is public or private.